.png?width=3047&height=647&name=Safetell%20Master%20Logo%20CMYK%20(1).png)
How to install an automatic door closer
.jpeg)
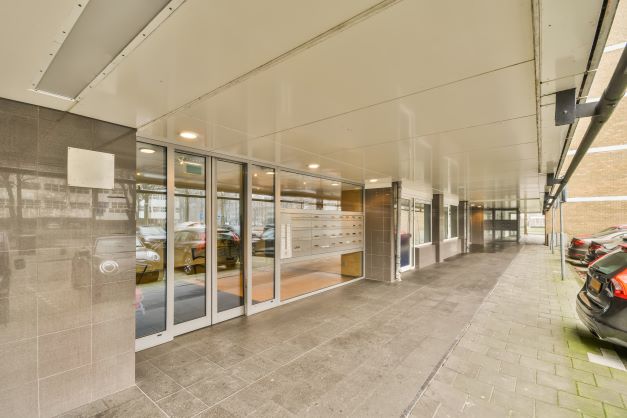
If you’re researching how to install an automatic door closer here are the steps you will need to take.
Automatic door closers ensure the safe and efficient operation of automatic doors in a wide range of settings. They are an essential component of any automatic door system, enabling access and safety. Installing an automatic door closer is a fairly straightforward process but needs to be done correctly to ensure that it’s safe.
Ensure you have the necessary tools when installing an automatic door closer
Before you begin the automatic door closer installation process you need to ensure that you have all of the tools and equipment you’ll need to complete the task. As well as the automatic door closer kit, you are also likely to need a drill, screwdriver, measuring tape, screws and a pencil.
Determine where the automatic door closer will be installed
You will need to locate where the automatic door closer needs to be fitted. This will depend on the type of door closer that you are looking to install. Most automatic door closes will be installed at the top of the door, but others may be installed in the middle or along the bottom of the door. You’ll also need to consider the type of door it will be operating and its weight. It’s important to ensure that you have sufficient clearance between the door and the frame.
Prepare the door and frame
The door and its frame should be prepared properly before the new door closer is installed. Firstly, if you are replacing an existing door closer this needs to be removed along with any old hardware that may be in the way. Then, mark the location of the screws on the door and frame using a pencil and measuring tape.
Secure the mounting bracket
With the screws provided, the mounting bracket can be attached to the frame. Care needs to be taken to ensure that it is level and securely attached. This is a key part of the process and needs to be carried out carefully.
Install the arm and bracket and adjust the tension
The next step is to attach the arm and door bracket to the mounting bracket with the screws provided. Usually, the arm will need to be attached to the door bracket first. Once in place, it can then be attached to the mounting bracket. It’s again important to make sure that the arm is securely attached and level. Most automatic door closers come with an adjustable tension feature. You'll need to adjust the tension to ensure that the door closes smoothly and firmly.
Test the door and fine-tune if necessary
Once you've installed the door closer, test it to make sure it's working properly. Open and close the door a few times to check the operation of the door closer. If it opens too quickly or slowly, you will then need to make some adjustments. Adjust the tension or positioning of the arm until the door closes properly. Once you're satisfied with the operation of the door closer, secure all the screws in place.
To find out more about how to install an automatic door closer, its correct operation, automatic door servicing and general automatic door maintenance, contact Safetell today.